field feedback and teaching tips
august 2024
Assigning Motorcycles
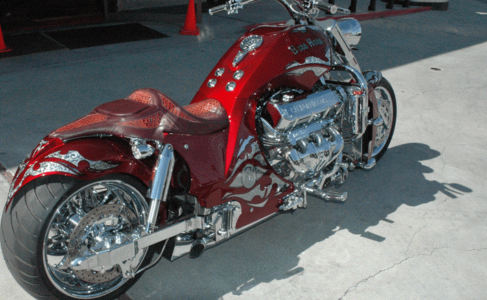
Get your class off to a great start by assigning motorcycles by fit. This isn’t the time to ask what students have ridden in the past, what they have at home or what they want to ride. We want to manage basic expectations by ensuring all riders can comfortably touch the ground.
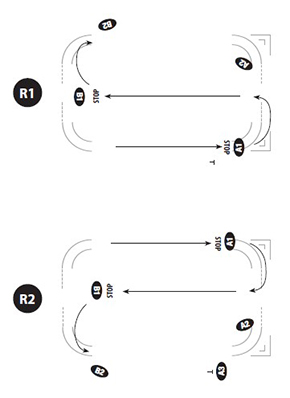
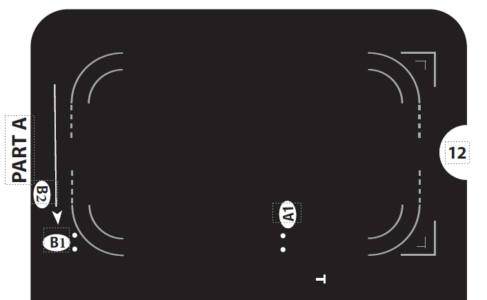
R1 and R2 Reversals
A quick reminder of how A2 and B2 positions in R1 and R2 reversals have been moved back to leave ample room for students to make a u-turn – i.e. please do not crowd them as they make U-turns.
Pathway to Proficiency
Remember an element of our core values is being accountable to each other and accepting feedback. This means giving and accepting feedback at the end of your course with your teaching partner. Everyone has a different perspective and they all have the potential to make you a better instructor.
Another element of proficiency is developing your riding skill Here is a cornering clinic at Pat’s Acres.
Riding Demonstrations
An old friend used to remind us “Students will emulate you to an embarrassing degree.”
Your demonstrations should show students exactly what you want them to do. Showing the complete and correct POT during a demonstration is very important for new riders. We always begin our demonstration from the beginning of our staging line, and finish by stopping at the end of the line. It’s permissible to straddle walk the bike with the engine off back to its place in line.
July 2024
No Runners Behind!
Exercise 3, Straddle Walking and Riding – In the transition from Part A to Part B, face the interior of the range and walk outside of the POT to the first large cone. This keeps all riders in your field of view.
Sometimes a thumbs up is one of our most effective tools. Nice job, Barb! She even got two in.
End of Course Codes for Students
What the DNF? To NS, or not NS. If a student operates a bike in class but does not complete the class, they are considered Did Not Finish (DNF). If they do not operate a bike, they are considered a No Show (NS). NS includes all of your students who don’t bring the right gear, are too late to join, or a minor who doesn’t have a parent signature.
Extra Credit: How would you record the status of a student who drops their bike in the eval and does not complete Exercise 19?
Student-Owned Motorcycles Used in Retest
Often times we hear the question, “Can I retest on my bike?” The answer is, “yes,” as long as the student trained on the same transmission style. For example, if they trained on a scooter, they must retest on a scooter. There is no restriction on engine size for the retest.
They/Them
Did you know that the roster has three choices for gender — M, F, X? Please be mindful of a student’s election and address them by their appropriate pronoun. If you have difficulties with this, consider addressing your entire class as “they/them.” Of course, referring to students by their names is the best option since personalizes your interactions. Thank you for your care.
Polos Welcome
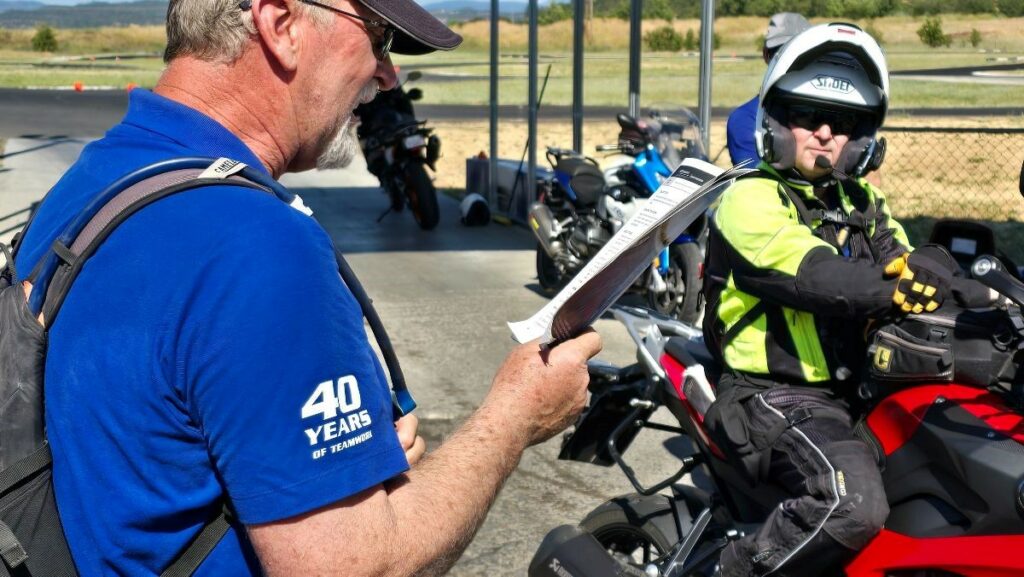
The new, blue Team Oregon polo shirts are “in the field.” You can wear these on the range as long as you have a jacket or long sleeve handy for your demos!
June 2024
Avoid the Danger Zone!
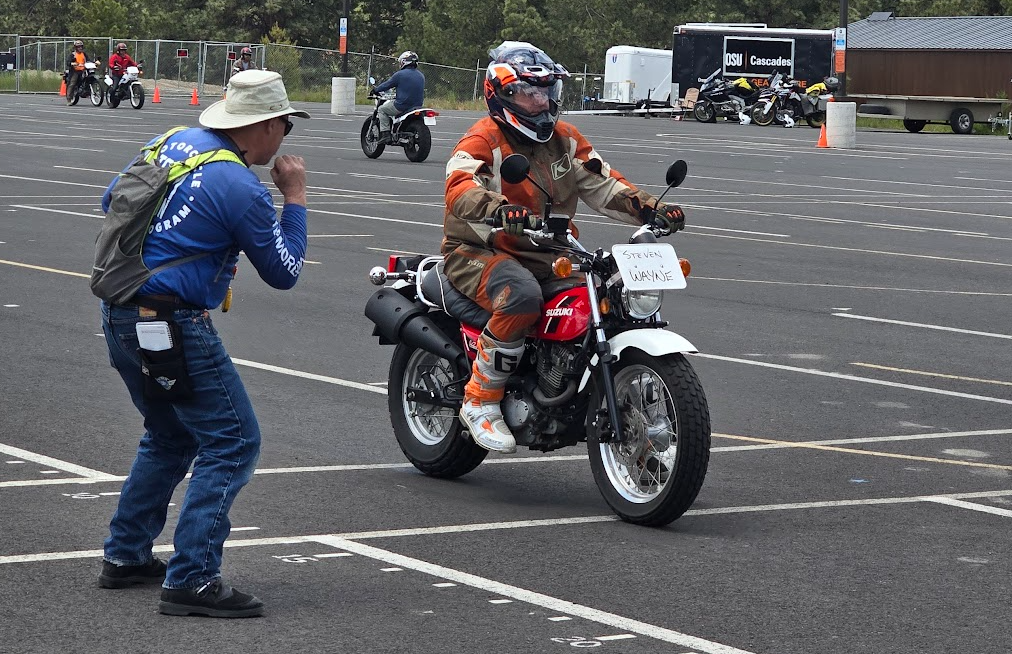
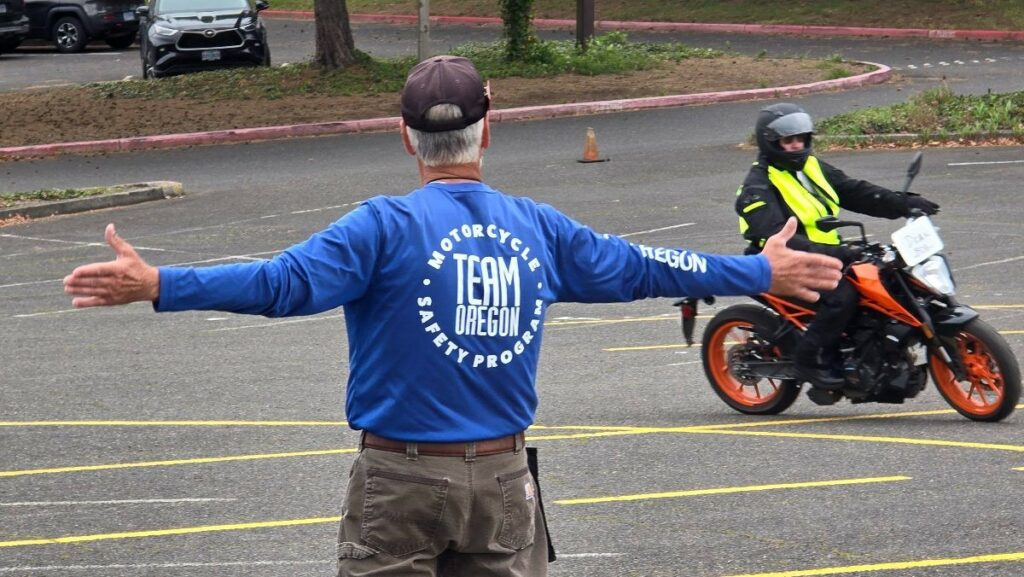
If you must have a conversation with a student rather than coaching in motion, including reversals, please do not stand directly in front of a running motorcycle! That’s risky business! I wonder how many movie references we can get into this month?
Manage POT on Short Side Gates
Please make sure to herd your flock of students when they are lining up on short side gates. For example, Pressing to Initiate Lean and Swerving. Stop your lead rider parallel with the short side, then have them straddle walk to the gate while turning to stop. Walk along the rest of your line on the outside of POT, but force them to stay on the range perimeter.
Student Dismissal
When you dismiss a student for any reason (late arrival, improper gear, counseled out), please have them call the office, as you normally would. Please do not say, “the office will reschedule you.” You can imagine the false expectations about a free class.
May 2024
Simulated Coaching – Be Smooth!
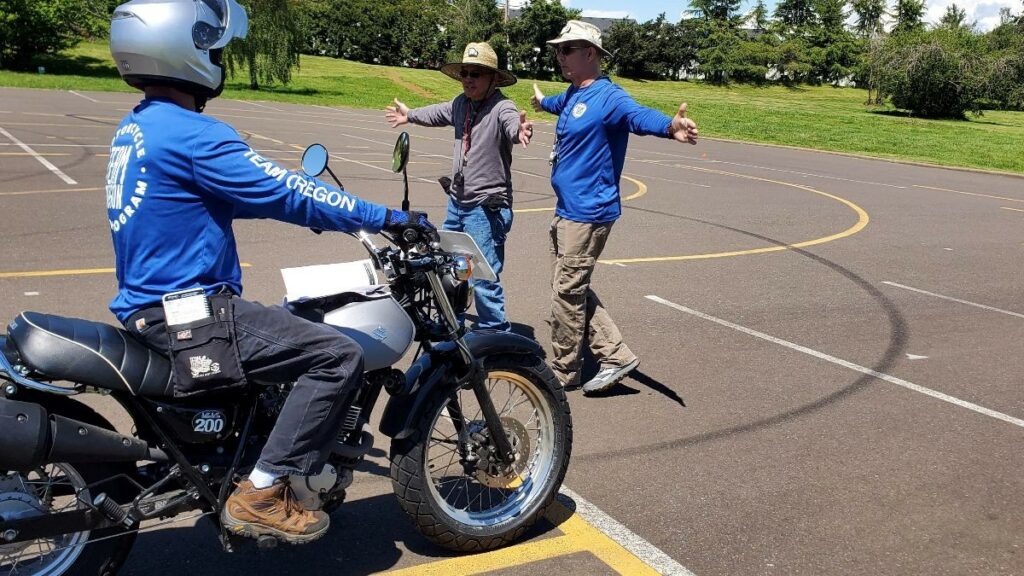
Think of playing “Simon Says,” but instead with signals or gestures. Why is this important? It allows the student to mimic your actions and experience a small step of success. Remember building blocks. Be purposeful with your signals like a music conductor with an orchestra!
Range Side Discussions
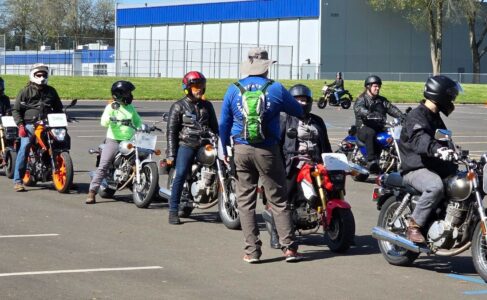
In those split group exercises where the B instructor has a range side discussion with half the class, brevity is key. These chats should only be 30-60 seconds, then let them digest the info and decompress. Avoid the “fire-hose of knowledge” technique! (Thanks for that line, Bob.)
august 2023
It’s Just the Stop Signal, Right?
But it’s just a signal. What’s the big deal?
Timing is very important to build proper expectations. We should provide the stop signal when we expect students to begin stopping.
Avoid using the signal too early – you want them to stop in front of you, not halfway uprange! (Yes, this happens.)
Point to your lead rider, point to your feet, slow, step out of path of travel (POT), and then give the stop signal. Students want to please; they just need to know clearly what you want them to do.
Riding Demonstrations
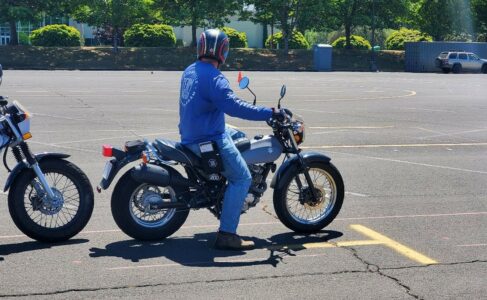
An old friend used to remind us “Students will emulate you to an embarrassing degree.”
Your demonstrations should show students exactly what you want them to do. Showing the complete and correct POT during a demonstration is very important for new riders. We always begin our demonstration from the beginning of our staging line, and finish by stopping at the end of the line. It’s permissible to straddle walk the bike with the engine off back to its place in line.
juLY 2023
Face the Range
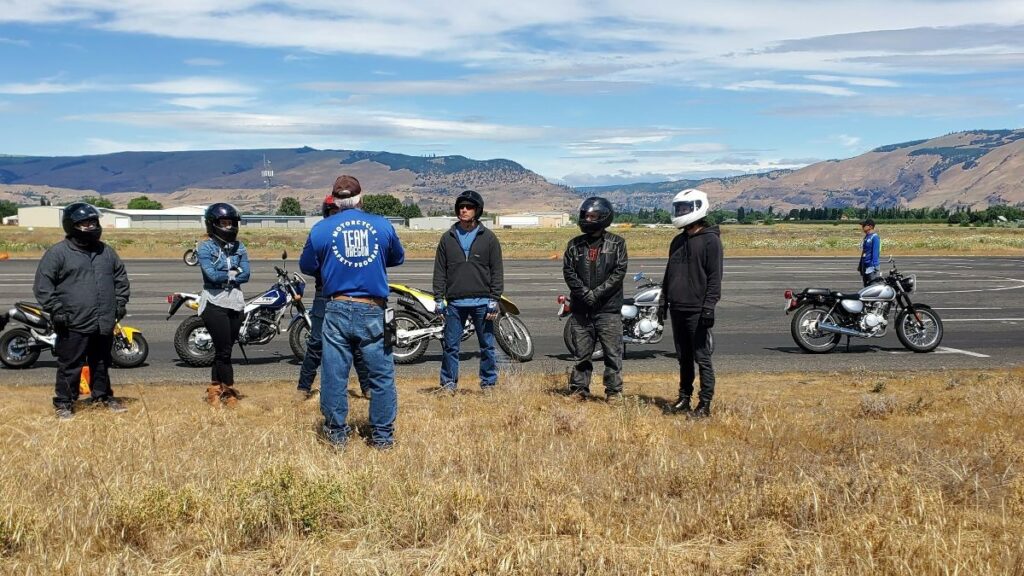
During split exercises when you are having a discussion with your group, remember to face the range. You will be able to maintain communication with your co-instructor and help with any potential POT issues.
Brevity in Coaching
Why do we always ask for brevity in coaching? Students need to focus on what’s important. On the range we don’t have time for the full lecture, student need to know now to practice. Concentrate on using as few words as possible, not full sentences and what they need to do.
Five Points for Dropped Motorcycles
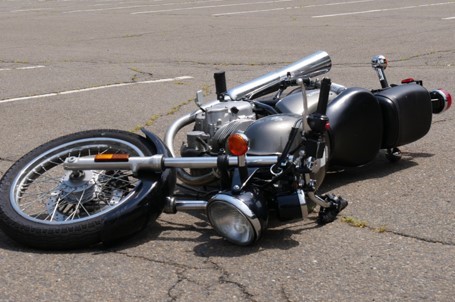
- Ask student what they think caused the crash/drop
- Provide feedback on what actually happened
- Offer coaching on how to avoid similar incidents
- Review risk of injury
- Get confirmation from student they accept injury risk
Summer Heat Reminder
Access to chilled water June through August: Lead instructors will be paid a half hour to pick up ice on the way to the range. Please do not submit receipts.
june 2023
R3 Reversal
Instructor in staging: Stands at the head of the line, outside the POT, so students aren’t forced to make a sharp u-turn.
Instructor down range: Acts as an exit reference and directs students into the next exercise.
Quick Stop Instructor Positions
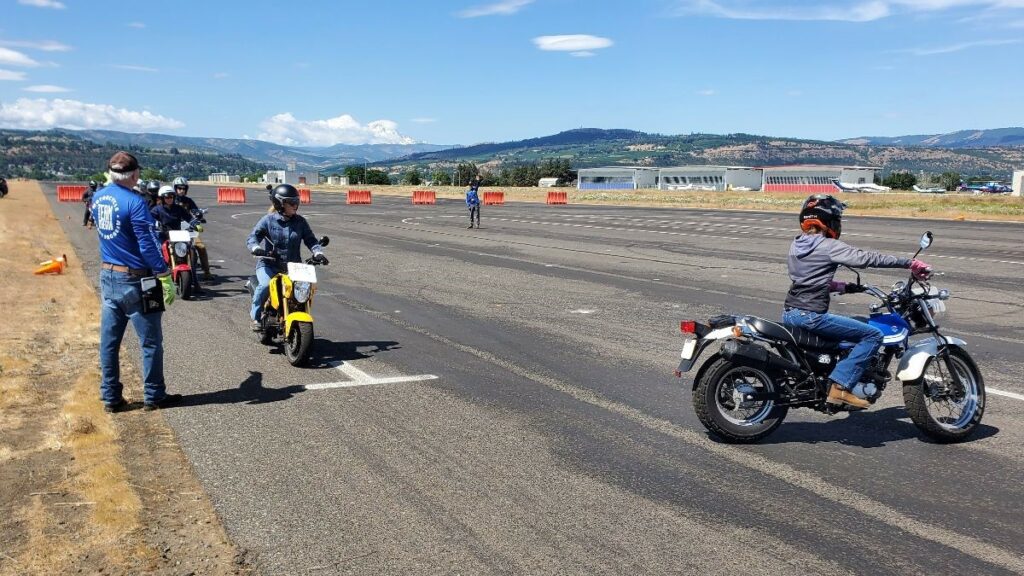
During this exercise, instructors should be on the brake side of the motorcycle, outside the POT (not standing on the numbers), and standing a foot or two before the standard for the speed you have directed the students to ride.
For example, for the first part at 15 mph, instructors should be standing at about 13 feet or a couple feet before. For the second part, stand at 23 feet or a few feet before. This implies to the rider that you are expecting them to stop near where you are standing.
Summer Heat and Access
Instructors and students must have access to chilled water June through August: Lead instructors will be paid a half hour to pick up ice on the way to the range. Please do not submit receipts.
Instructors and students must have access to shade: Pop-up tents are being deployed to sites without natural shade.
Instructors and students must have access to additional breaks:
- 100-105 F: take an additional 15-minute break where needed
- 106-110 F: take at least two more 15-minute breaks
- >110 F: call on-call to reschedule class
Please call on-call if you put in more time, so we can compensate you accordingly.
MAY 2023
Staging
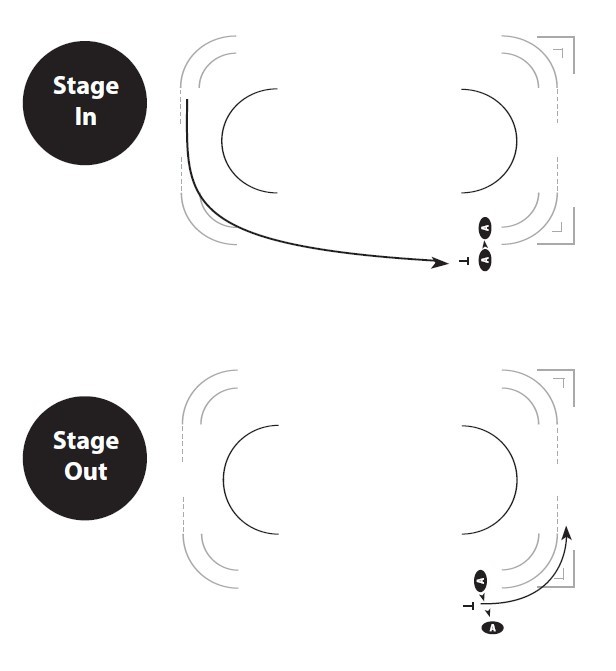
Staging in – After directing the first rider to stop, step towards the interior of the range outside the POT, and continue to provide the stop signal to all riders; direct class to use engine cut-off switch.
Staging out – Ensure all riders are ready, move to the brake side of the motorcycles outside of POT, facing the inside of the range and direct students out.
Instructor Positions
3Cs – Communicate, Control, and Coach. If you find yourself needing to move from the prescribed instructor position, or perhaps you are bladed in a different direction, realize that one or more of the three Cs is not getting the attention it deserves. By all means, help your students for incidents and stalling, but try to work from your position in the cards.
APRIL 2023
Risk Management
Did you know that the vast majority of reported incidents on the range involve the abrupt use of the front brake? Try to reflect on the delivery of your coaching. Consider your speech – timing, volume, tone, speed – when working with students that may be anxious while operating the controls. What you say is important, and the delivery carries just as much weight.
Exercises 2 and 3
Remember to encourage “both hands squeeze” as students arrive at the stopping points. Your instructor positions allow for the three Cs (Communicate, Control and Coach). In exercise 2 that means you should be at least 10 feet beyond the perimeter little cones, centered in front your group of six students.
Porta-Potty Roller Locks
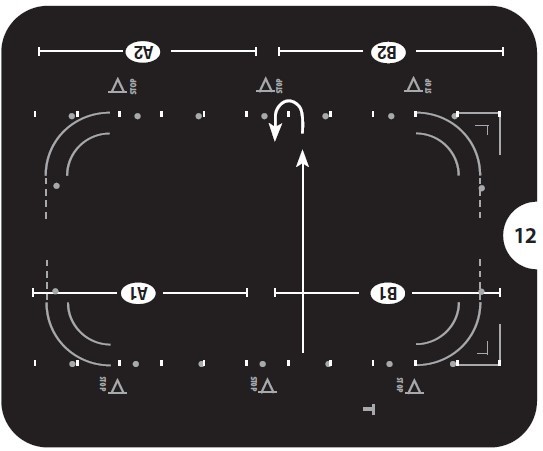
To reduce the number of locks that go swimming in the blue lagoon, please lock them to the porta-potty on the inside handle. If that’s not possible, please take them out of the porta-potty, away from students.
August 2022
Speed
Day 1 – Do not coach speed unless the student is wobbly or unstable. You can also coach speed in Exercise 7 (Upshifting and Downshifting) to avoid lugging in 3rd gear. That’s it!
Day 2 – Coach speed that is designated within each exercise. If no speed is defined, coach speed only if wobbly or unstable.
Forcing target speeds should never be a priority. If a student is incapable of achieving desired speeds, provide proper counsel including calling the office to speak with me to consider next steps.
Bike Storage
For TWs remember to turn the petcock to the “OFF” position. Scooters do not always get used. When you start them, remember to check the gas gauge, and if it is low, give it a splash of gas! Please do not actually splash the scooter with gas, but fill it!
Instructor Candidates
Please remember to click the instructor candidate box when entering scores. Many hands make for lighter lifting! As we continue to onboard more candidates, you will encounter auditors on your range. A reminder to keep auditors off the range when bikes are in motion. (At your discretion, you can task them to move cones when bikes are off.)
Tuition Reimbursement
If a student brings a tuition reimbursement form, ask to see their Oregon Trail Card. Print, sign, and mark the box on the form that you verified their card. Include the form with your course file, and you are done.
OSHA Heat Rules – Cooling Periods
Our built-in breaks largely meet the cooling period requirements set by OSHA. Here are some guidelines for higher heat indexes:
- 100-105: take another 15-minute break where it makes sense
- 106-110: take at least two more 15-minute breaks
- 110: call on-call to reschedule class
Make sure to call on-call if you do put in more time, so we can compensate you accordingly.
july 2022
Arrival Schedule
This has always been a tricky issue to remember for us as instructors.
Click here to find the help document with all the times by class type. BRT and IRT classes are resuming this weekend at select locations, lets make sure we are on range at the right time! I mean there’s nothing wrong showing up at 6:30 a.m. for am AM BRT on Saturday morning, but you might get a little lonely!
FYI, you do not need to be classroom certified to teach the range sessions for a BRT or IRT.
Walking Backward
While teaching try to minimize how many times you are walking backward to avoid having your back to running motorcycles. For example, stopping (4) and shifting and stopping (6) exercises, wait to signal start engines until you are nearly at your instructor position. That way you can walk facing your direction of travel and not have running bikes behind you. This should lower your risk of tripping over cones or other injury. Be safe out there!
Reversal to Staging on Riding through Curves
On Exercises 14 and 18 we should be using an R2 back to staging. Instructor B remains in staging. There is no need to have an instructor stop them at the short side of the range behind staging. Remember we are starting to pass off some responsibility to the students like in staging on day-two.
Reminder for Advanced Course Instructors
Sometimes it is easy to forget after a long, successful day with our advanced students, but they need the rider passport, too! They might not have taken an endorsement course from us in recent years. When you get home and have your feet up, don’t forget to complete student status’ and site needs for those advanced courses! Pat says, please and thank you!
OSHA Permanent Heat Rules
Chilled water is required per OSHA when the heat index reaches 80 degrees. We will reimburse you for buying ice. Simply write your name on the back of the receipt and include in the envelope of course paperwork. The large container (5 gal) and dispenser is for students and instructors. Put ice into your water backpacks, bottles, or cups to meet the chilled water requirement.
June 2022
Changing Motorcycles
If a student is registered for a motorcycle and would rather ride a scooter, it is permissible as long as you have a spare scooter available. After Exercise 1, the student must stay on same transmission type.
Demos
Generally, we should be demonstrating from the front of staging and returning to the rear. Two exceptions: Straighten Then Brake and Swerving. In these exercises you can push your bike to the start gate closest to staging.
During Exercise 16 (Low Speed Turning), remember to demo a proper lane change – signals, mirrors, head check.
Grom Clutches
The clutches have been adjusted slightly inward to accommodate smaller hands. We would like to keep them there.
May 2022
Expired Driver Licenses
If you see a student with an expired driver’s license, do not turn the student away. Please contact on-call for guidance. Despite what you think, Elvis has not expired.
Upshifting and Downshifting
As dictated under Exercise Guidelines, “Slow students prior to entering short sides of the range.” How much do we slow them? Enough so their speed is commensurate with the skill level expected of a basic rider student on day one. The recommendation is no more than 15 mph on the long sides.
Teaching with Apprentices and Interns
If you are a co-instructor with a mentor-apprentice/intern team, please do you absolute best to stick to the cards. Your modeling is a key feature in the apprentice/intern’s learning process. Also please let the mentor provide the feedback. At this stage in training white board space is limited.
Retests
Remember with retests students that they also receive a retest skills report. Since their next steps may be different than original course participants, these forms are slightly different (hence orange in color). Please do not forget to hand these out whether your retest students pass or fail.
APRIL 2022

R1 and R2 Reversals
A quick reminder of how A2 and B2 positions in R1 and R2 reversals have been moved back to leave ample room for students to make a u-turn – i.e. please do not crowd them as they make U-turns.
Starting the Evaluation
When we return from break, gather students near the starting point of the evaluation, read, then send them from staging to the starting point. In other words, read then send.
Decelerates in Curve
Penalty points are assessed for initiating brakes any time after the leading edge of the front tire enters the painted path until the leading edge of the front tire exits the painted path. Penalty points are not assessed for throttle input in the curve. This includes throttle pick-up, roll-on, and roll-off.
Student Dismissal
When you dismiss a student for any reason (late arrival, improper gear, counseled out), please have them call the office, as you normally would. Please do not say, “the office will reschedule you.” You can imagine the false expectations about a free class.